CREATE
CUSTOM BOT
Steps
BUY CUSTOM BOT INSTANCE
If you didn't already, head over to the premium page and purchase a custom bot instance.
You can also buy more than 1.
CREATE BOT
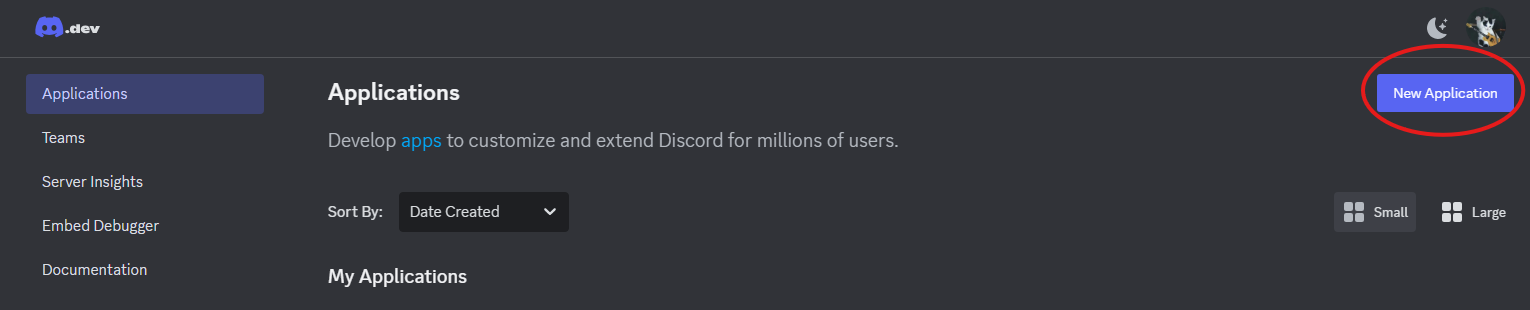
Create a custom bot for Betty to run under. Go to the Discord Developer Portal and click on "New Application" in the upper right corner.
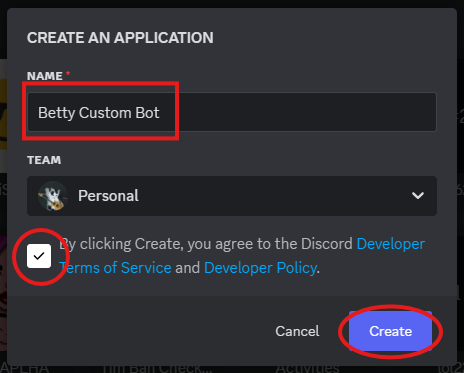
Enter a name for your bot and click Create.
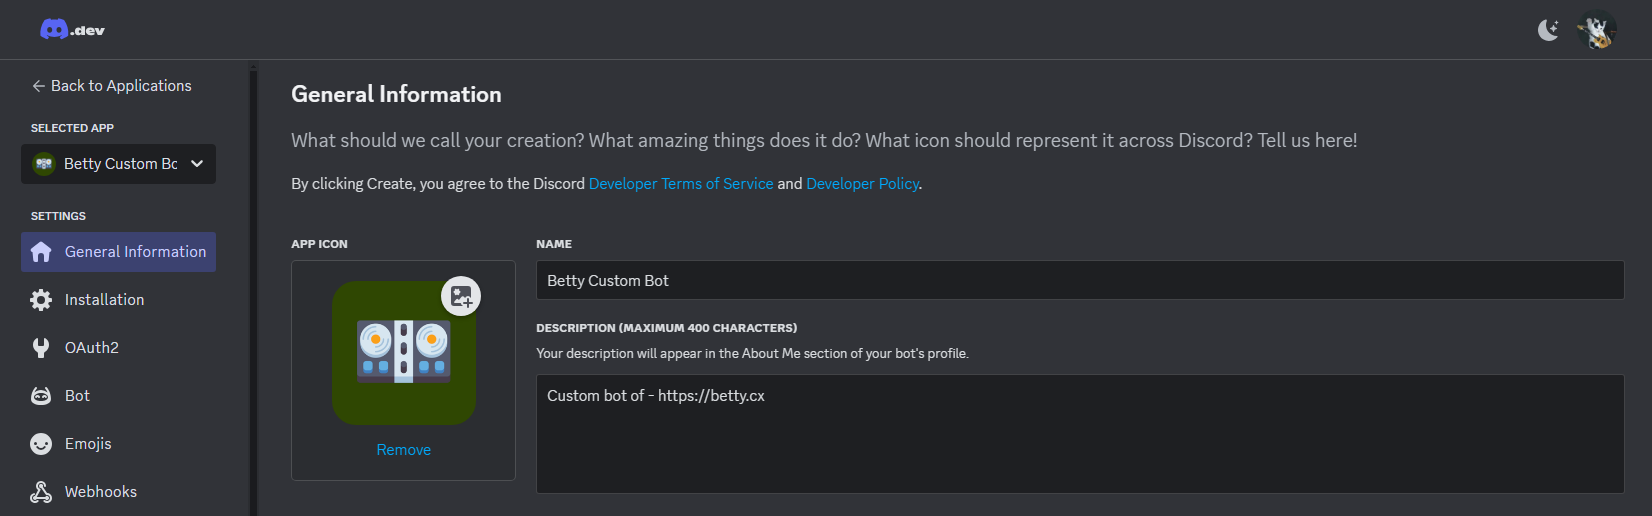
Change avatar, description and other details from here.
TWEAK SETTINGS
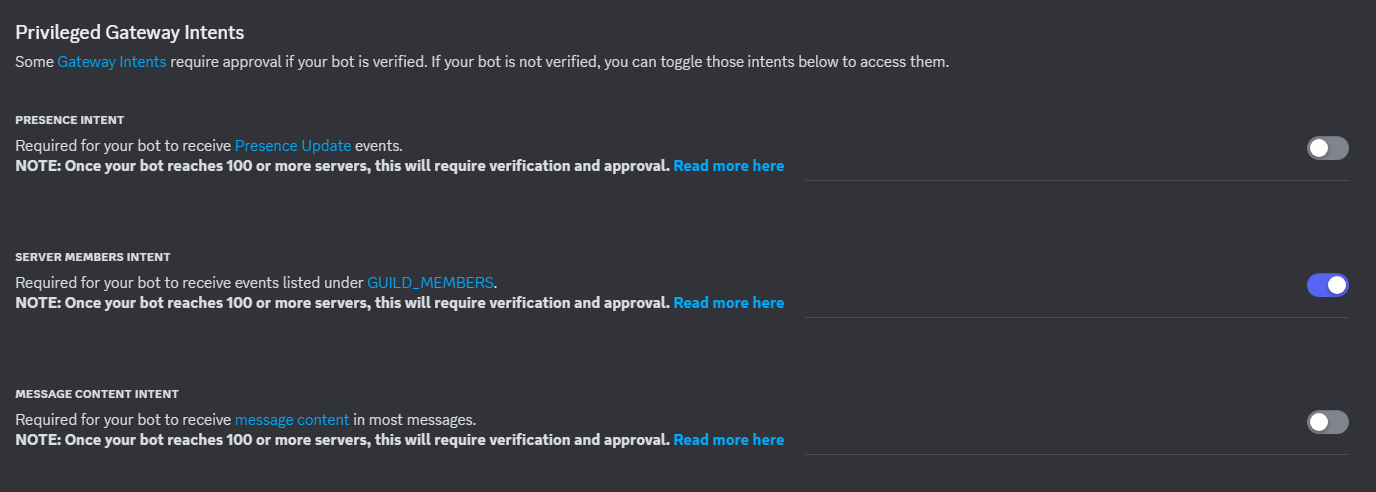
Switch to the "Bot" tab in the sidebar and enable these settings:
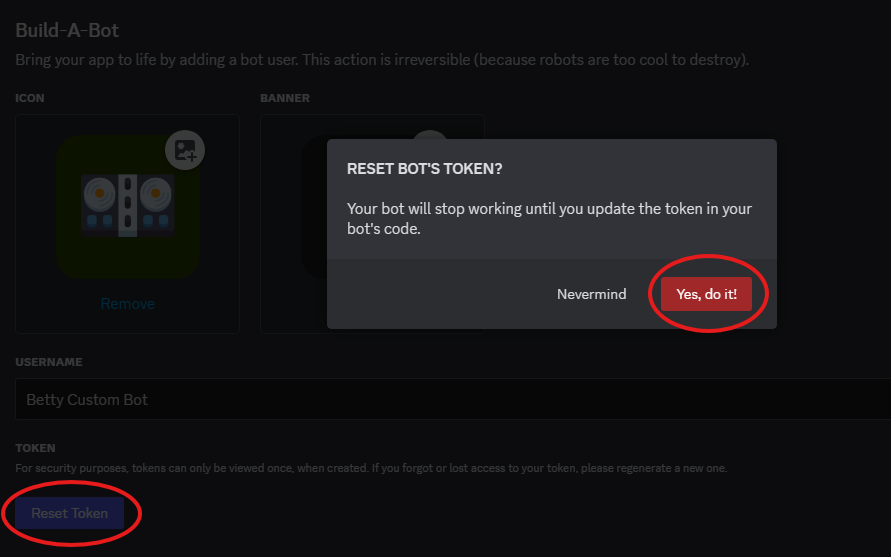
Scroll up and click "Reset Token" to get your bot's token.
SETUP BOT
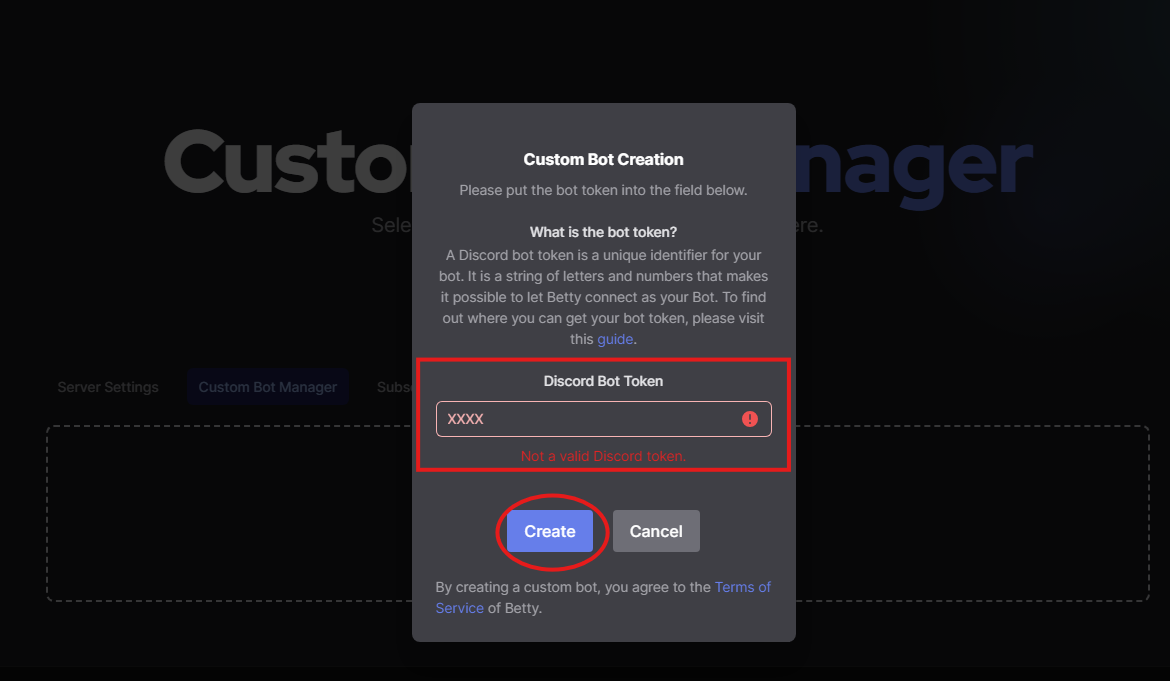
Switch to the custom bot dashboard and click "Create a custom bot".
Fill in the form with the bot token and click "Create".
CHANGE SETTINGS (REQUIRED)
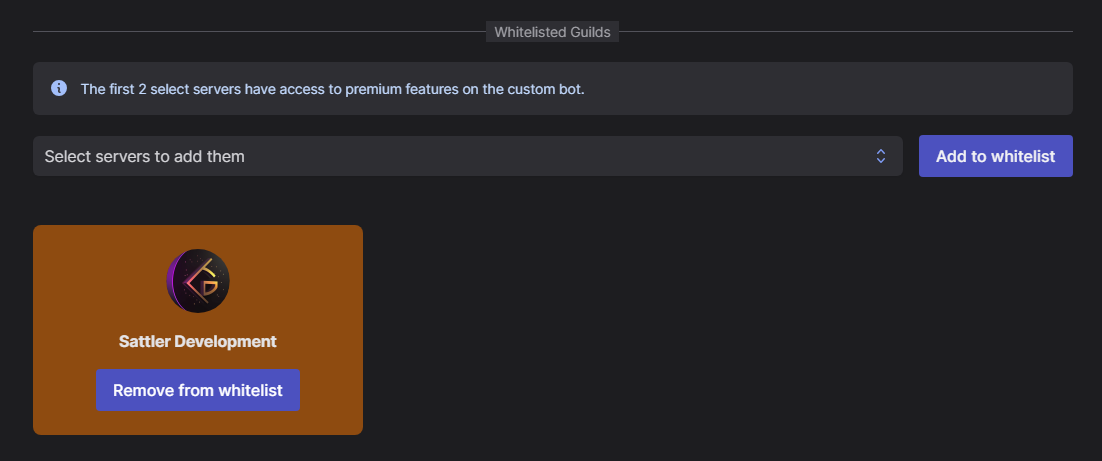
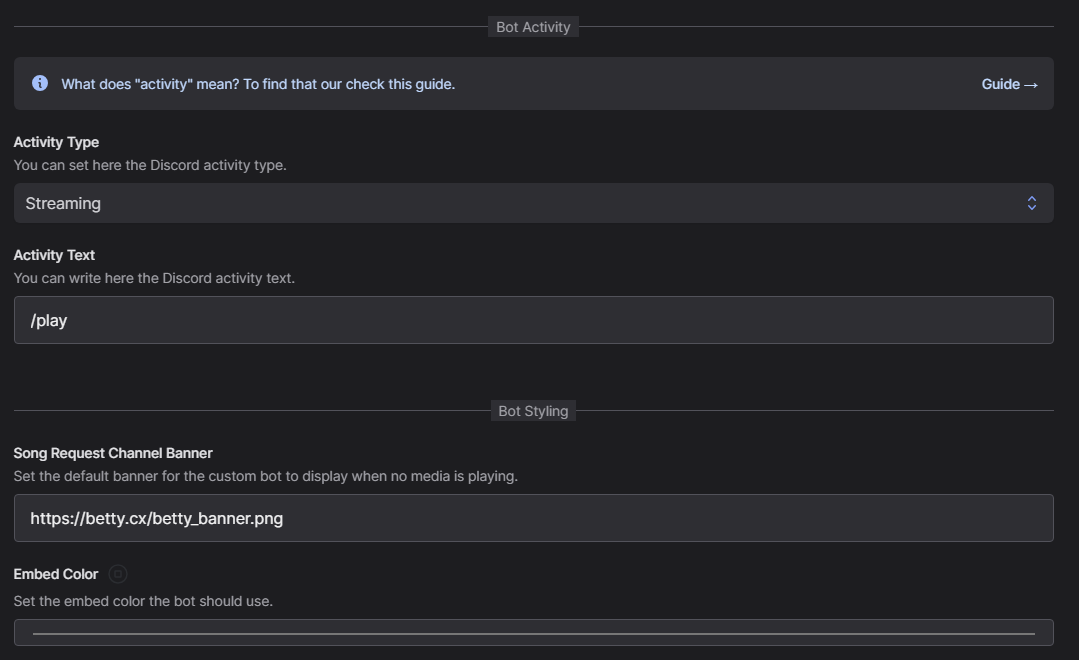
Configure Activity Type, Activity Text, Song Request Channel Banner and Embed Color. Whitelist your servers before using the bot.
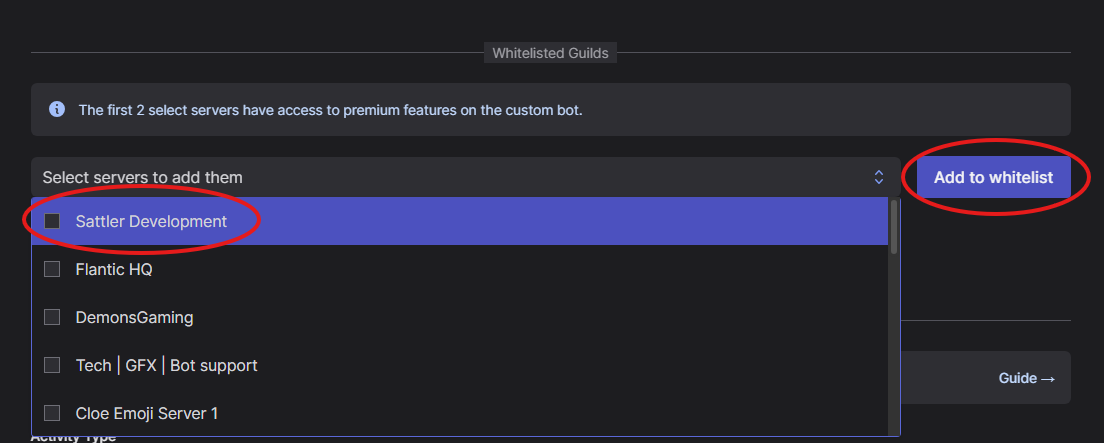
After whitelisting it should look like this.
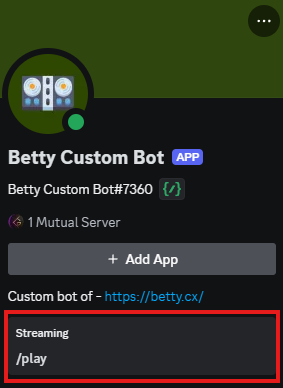
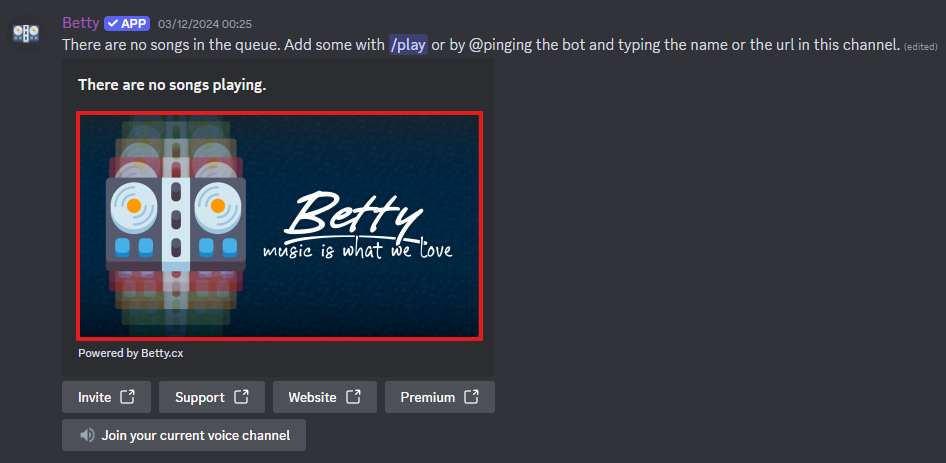
Change the activity and song request channel banner.
Activity settings example (highlighted in red).
Song request channel banner example.
INVITE BOT
Scroll down the custom bot dashboard and click "Invite custom bot".
PRIVACY & TOS
Go back to the Discord Developer Portal and select your bot.
At "General Information", under "Terms of Service URL" enter:
https://betty.bot/terms?utm_source=discord-appAt "Privacy Policy URL" enter:
https://betty.bot/privacy?utm_source=discord-app